Introduction
Since 3.7.0 the configuration page provide a way to save adapter configurations in a project. A project helps managing the configuration XML files, using X-Include or not, and the Variables Substitutions Files together.
Getting Started
To open the config project modal you will have to click on the Project button on the top left corner of the config page.
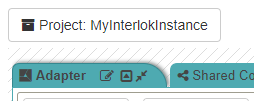
Config Project Modal
The modal is divided in three tabs:

- General: Where you can configure the basic details of the project, name, description, add config file and the config file name.
- X-Includes: Where you can specify which part of the XML config file should be split into multiple files.
- Variables: Where you can add key/variable pairs to use for the XML config Variables Substitutions.
- Variable XPaths: Where you can specify which value of the XML config file should use Variables Substitutions using some XPaths. You should not need to add Xpaths/key pairs manually as that can be done in the Component settings modal.
- Tests: Where you can specify the test config file name. This is the file used in the Service Tester Page.
- Additional Files: Where you can specify the additional files to be added in the config dir.
- Optional Components: Where you can see the list of optional components used in the cofig xml.
General Tab
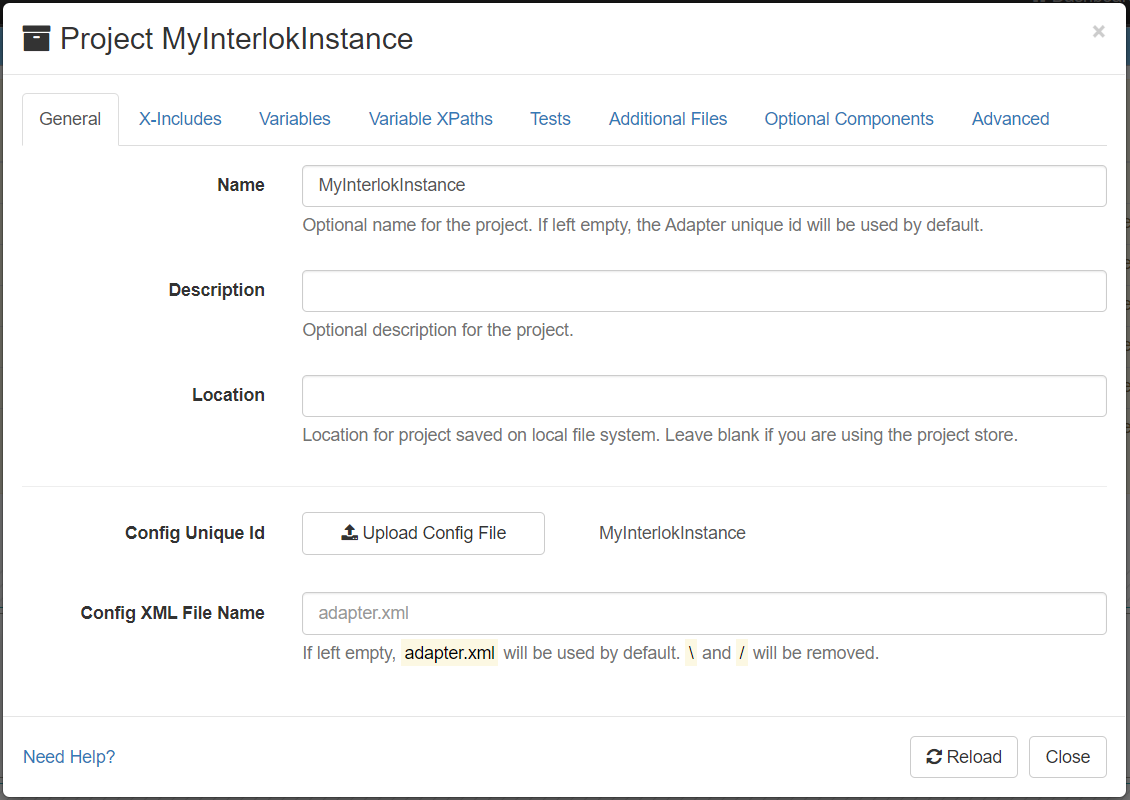
In the General tab you can configure:
- Name: The name of the project. This is optional and will use the Adapter unique id if left empty.
- Description: The description of the project. This is optional.
- Config Unique Id: This will be populated from the uploaded configuration XML. The Upload Config File button allows you to update the configuration file of the project.
- Config XML File Name: The name of the Adapter config XML file. This is used when the project is saved or published to a version control system. This is optional and
adapter.xmlis used by default.
X-Includes Tab
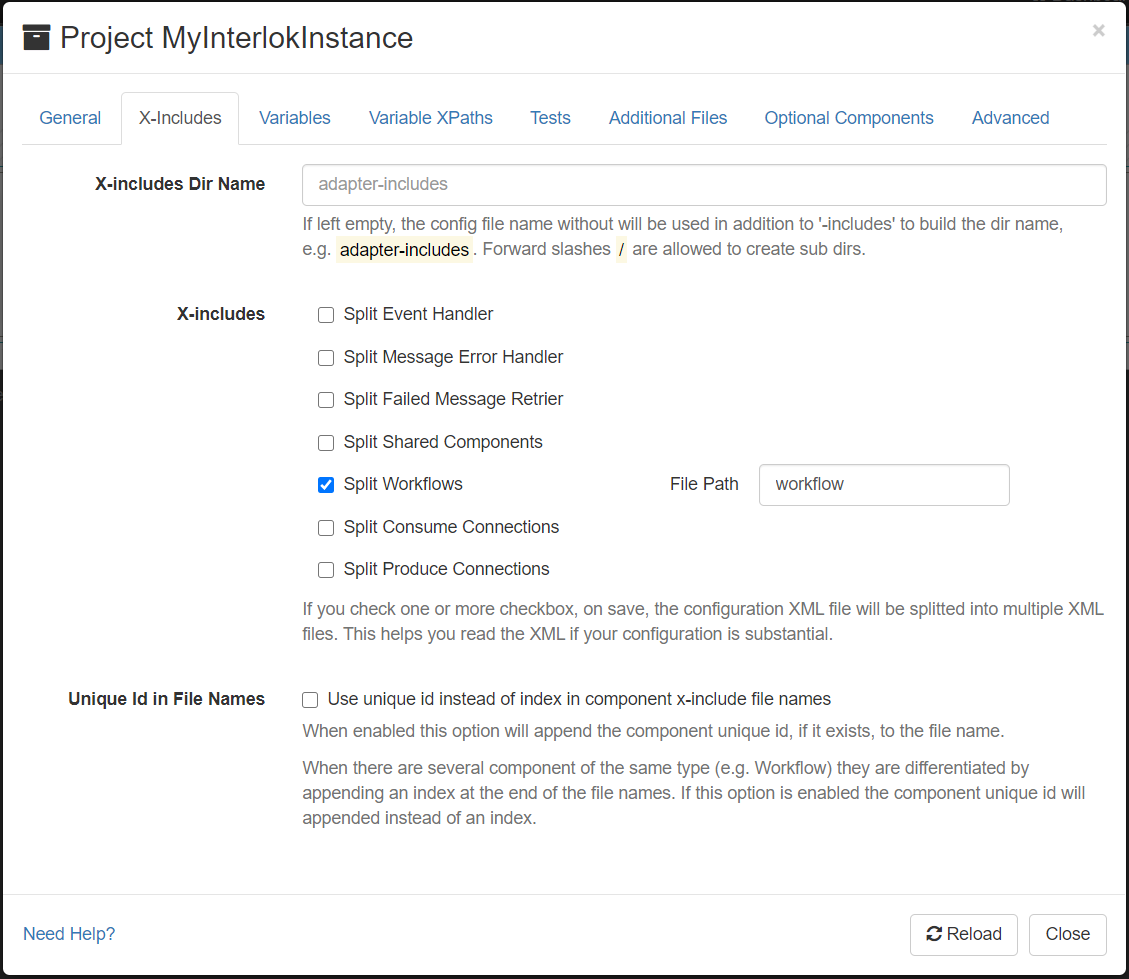
X-Include is a mechanism for merging/splitting XML documents, by writing inclusion tags in the main XML document to automatically include other documents.
In the X-Includes tab you can select which part of the config file will be extracted from the main adapter.xml file.
Since 3.8.2 when an x-include part is selected you can specify the file path to this component from the x-include dir. By default the x-include files are at the root of the x-include dir and use the xml tag name or type (workflow, consume-connection, produce-connection …). If you wish to add the files in a sub folder you can set the file path to dir/file. For instance to have all the workflows in a folder named ‘workflows’ you can do workflows/workflow. (Only forward slashes ‘/’ are allowed)
Since 3.9.3 If “Use unique id instead of index” is enabled, this option will append the component unique id, if it exists, to the file name.
Variables Tab
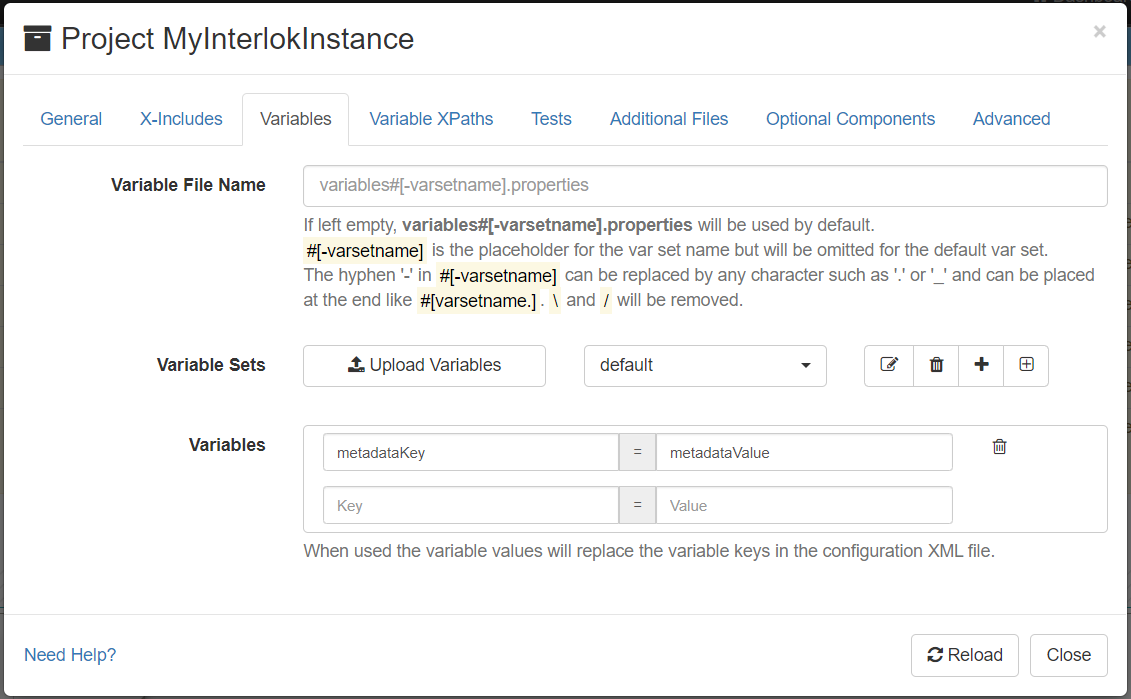
In the Variables tab you set the name of the variables properties file. This is optional and if left empty, variables#[-varsetname].properties will be used by default.
Since 3.8.2 the variables properties file names are more configurable. #[-varsetname] is the placeholder for the var set name but will be omitted for the default var set.
The hyphen ‘-‘ in #[-varsetname] can be replaced by any character such as ‘.’ or ‘_’ and can be placed at the end like #[varsetname.]
You can add variable sets with all the variables key/value pairs you want to use in the XML configuration file.
Each set will be saved in a different properties file. The default set will be named variables.properties and the other set will be named like variables-setname.properties as explained above.
You can use the Upload Variables button to upload a properties file and add all its properties as variables.
The other buttons are used to manage the properties set:
| Button | Meaning |
|---|---|
 |
This button make the selected variables set as active. By default the default set is the active one. The default set is used in the Component settings modal to associate config values with variable substitution keys. |
 |
This button allows you to change the selected variable set name. |
 |
This button allows you to delete the selected variable set. |
 |
This button allows you to add a new empty variable set. You just need to give the variable set name. |
 |
This button allows you to add a new variable set filled with properties copied from the selected variable set. |
Variables XPaths Tab
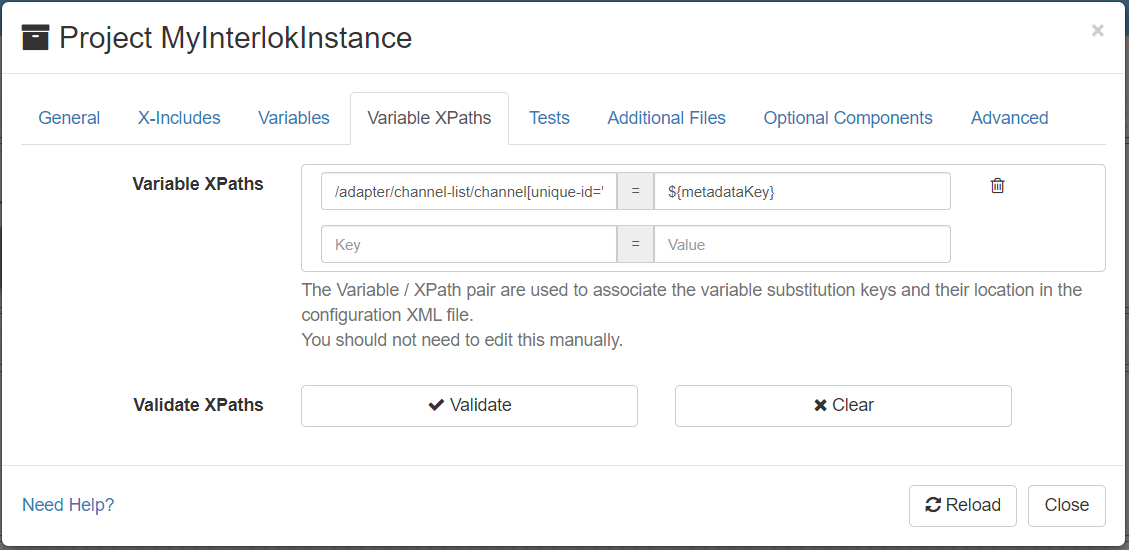
The Variables XPaths tab list all the associations between the config XML node values and the variable substitution keys. Interlok uses XPaths to associate a node value in the config XML to variable key.
You should not need to edit anything in this tab except if you know which XPath to edit. The association can be done in the Component settings modal.
If you need to add or edit manually some variables xpaths, since 3.8.3 the UI can help you validating the xpath to make sure they match something in the config page. Click on the ‘Validate’ button to do the validation and on Clear to clear the validation results.
Generic XPaths (e.g. //payload-hashing-service/metadata-key instead of /adapter/channel-list/channel[unique-id="ChannelId"]/workflow-list/standard-workflow[unique-id="WorkflowId"]/service-collection/services/payload-hashing-service[unique-id="HashPayload"]/metadata-key) are supported for substitution but the variables will not appear as selected in the Component settings modal.
Tests Tab

In the Tests tab you can configure:
- Test XML File Name: The name of the Service Tester config XML file. This is used when the project is saved or published to a version control system. This is optional and
service-test.xmlis used by default.
Additional Files Tab
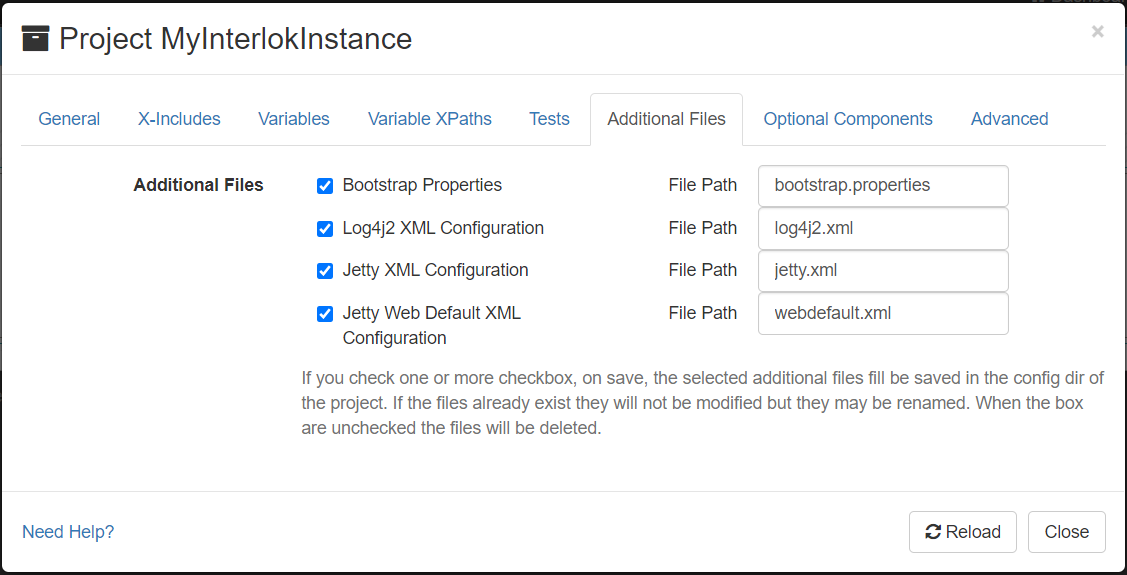
In the Additional Files tab you can add additional config files to be saved with your config when saving a project. (Since 3.10.1)
When a file is selected you can specify the file path to this component from the config dir. By default the additional files are at the root of the config dir and use their default name (bootstrap.properties, log4j2.xml, jetty.xml and webdefault.xml). If you wish to add the files in a sub folder you can set the file path to dir/file.
If the files are unselected they will be removed from the project on the next project save.
Optional Components Tab
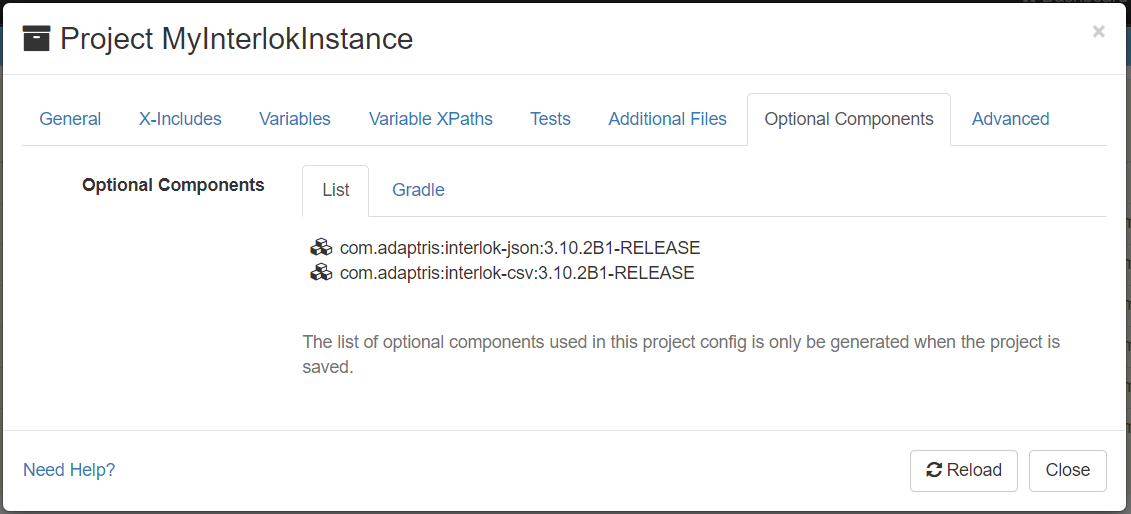
In the Optional Components tab you can see the list of optional components used in the project config xml. (Since 3.10.2)
The list is generated when the project is saved and can be utilised to add the optional components as dependencies in a dependency manager tool such as Gradle.
To make it easier to copy the optional components dependencies into a build.gradle file you can select the Gradle tab and copy the Gradle snippet.
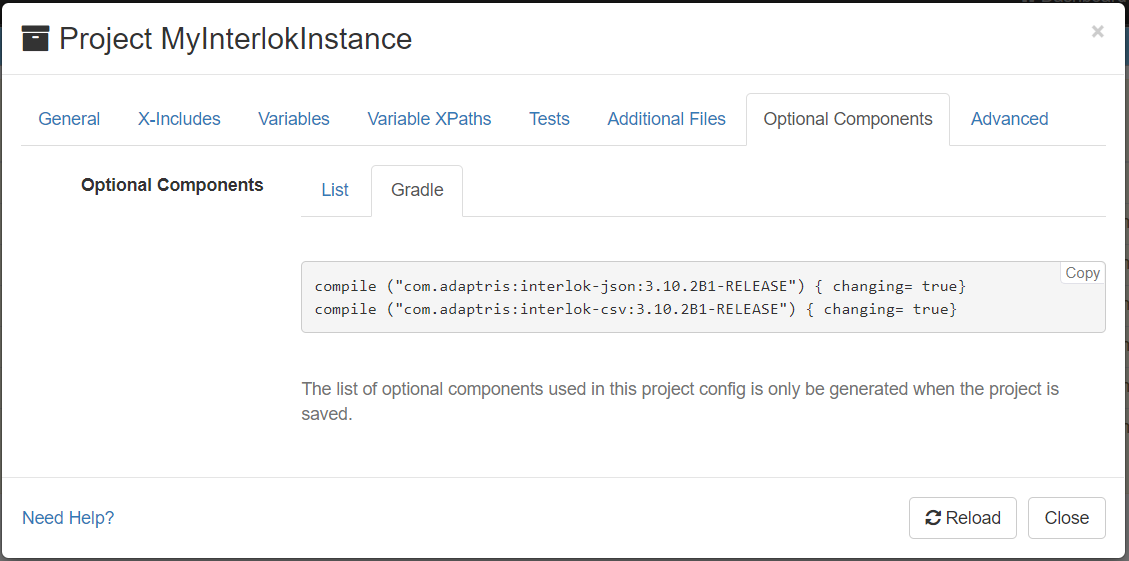
Note: The UI will be only be able to manage optional components which are in its classpath.
Component Settings Modal
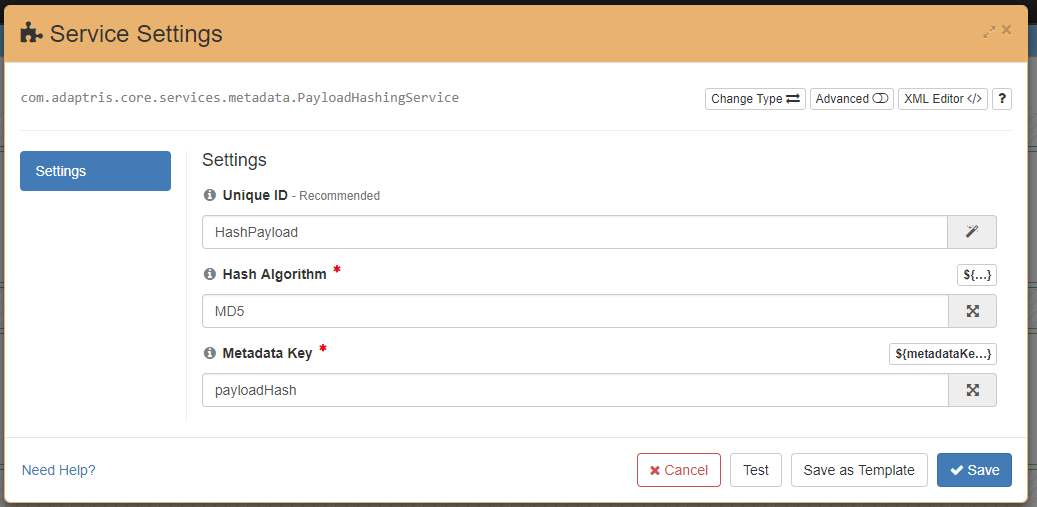
If you have at least one variable in the config project, a variable picker will be show next to each Component settings.


If you click on it that will open a token text field where you can add/select some variable keys and/or some free text.
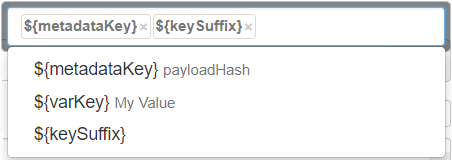
A variable key is surrounded by ${ and }. If the variable you want to use does not exist you can add a new one by typing ${varKey} and Enter if you want an empty variable and provide the value later or ${varKey}=var Value and Enter if you want to provide the value.
Note: When typing a token (variable key or free text) you will have to press Enter to fully add the token in the text field.
Save, Open and Download a Project
The config project modal allows to configure the config project but doesn’t persist it anywhere. To save a project you will need to click on the Save Project button in the config action bar.

You will be prompted for the config project name. By default the Adapter unique id will be used.
To open a saved project or to download it you will beed to open the Saved Config Projects Modal
Config Project format
The downloaded ZIP file will have a structure as follows:
Until 3.8.1 the project format is as below:
my-project.zip
  |- config-project.json
  |- adapter.xml
  |- variables.properties
  |- variables-envOne.properties (optional)
  |- variables-....properties (optional)
  |- adapter-includes (optional)
    |- workflow0.xml
    |- workflow1.xml
    |- ...
However since 3.8.1 all the new projects will be saved with a new structured format organised like Maven and Gradle projects.
my-project.zip
  |_ src
    |- main
      |- interlok
        |- config
          |- adapter.xml
          |- variables.properties
          |- variables-envOne.properties (optional)
          |- variables-....properties (optional)
          |- adapter-includes (optional)
            |- workflow0.xml
            |- workflow1.xml
            |- ...
    |- test
      |- interlok
        |- service-test.xml
  |- config-project.json

